Moneybox's videos

Prospecting Australia

Help Support Prospecting Australia:

This site may earn a commission from merchant affiliate links, including eBay, Amazon, and others.
Home built.

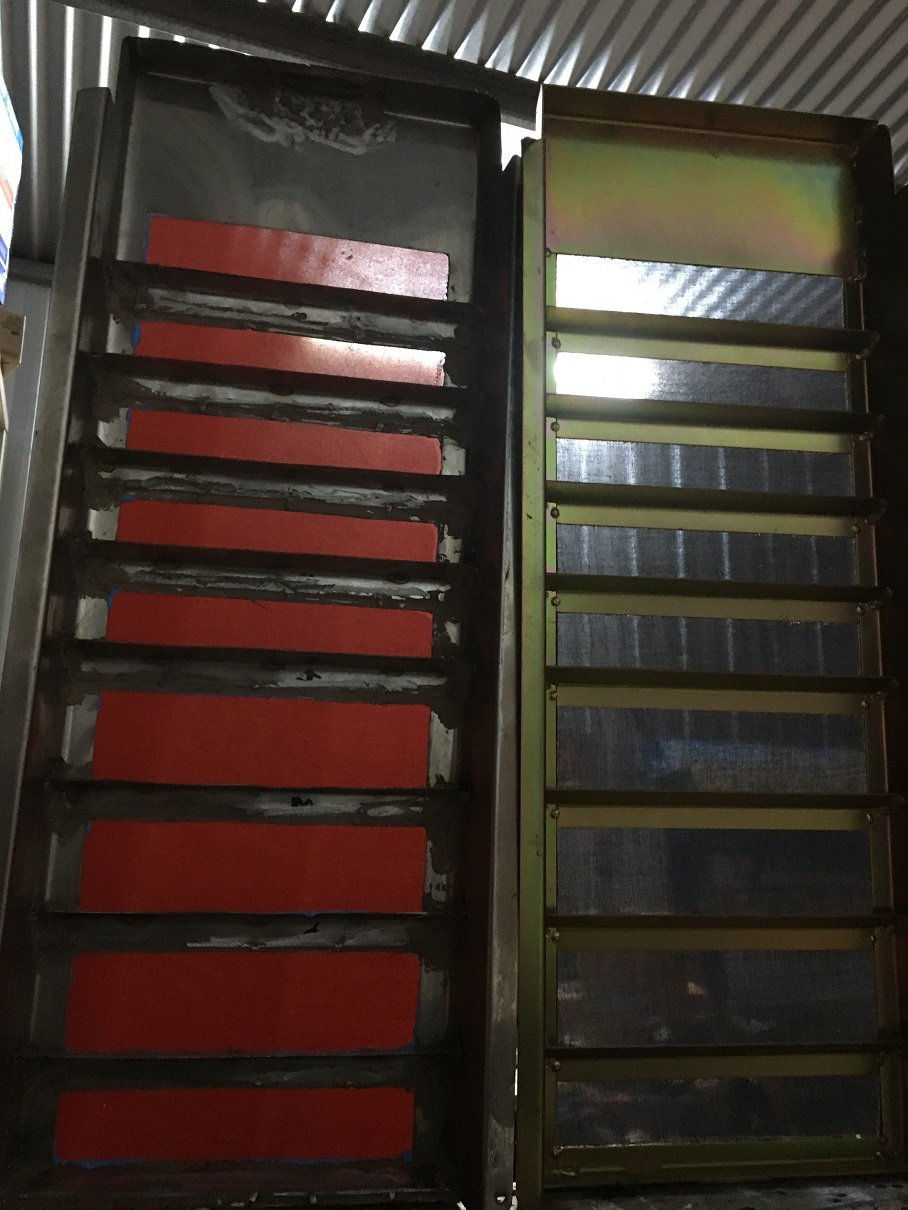
1583931105_archivepotos575.jpg


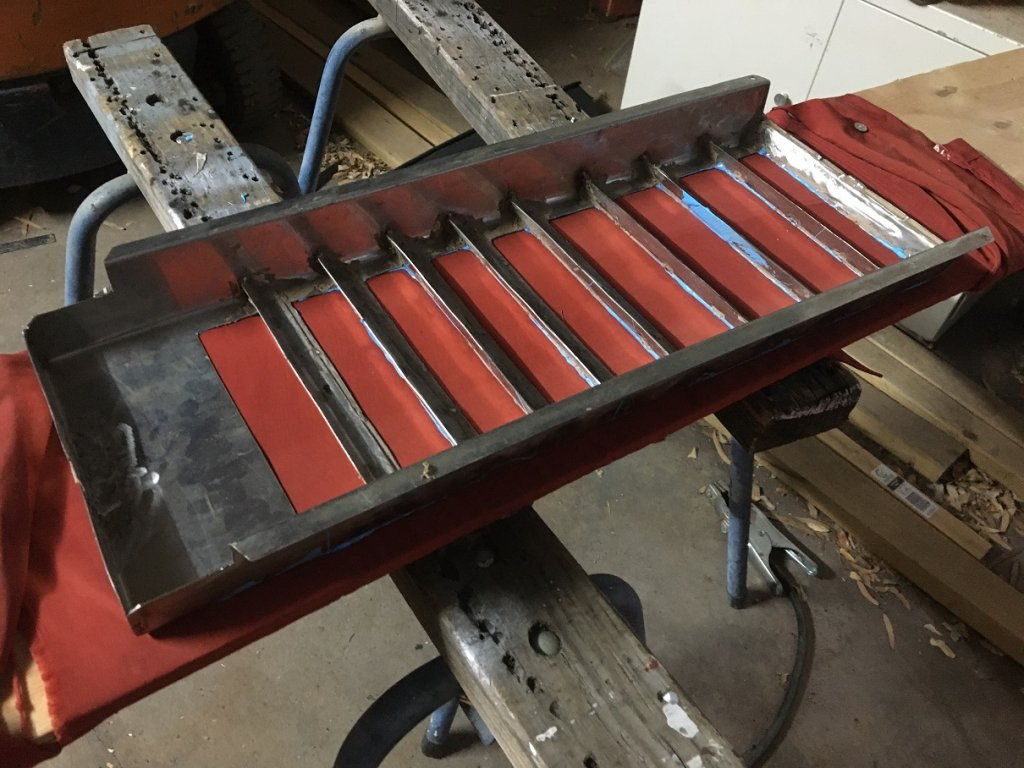
1583931105_archivepotos576.jpg


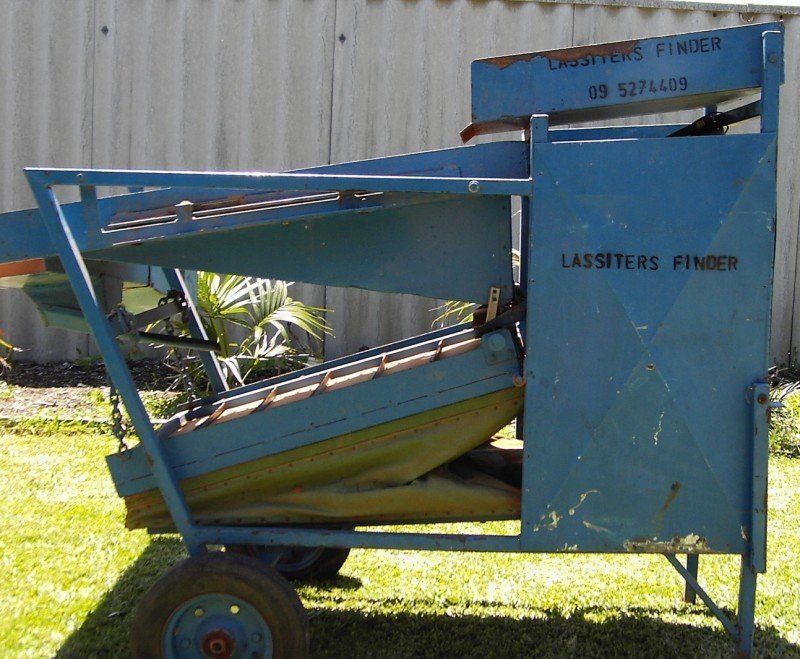
1583931105_archivepotos577.jpg


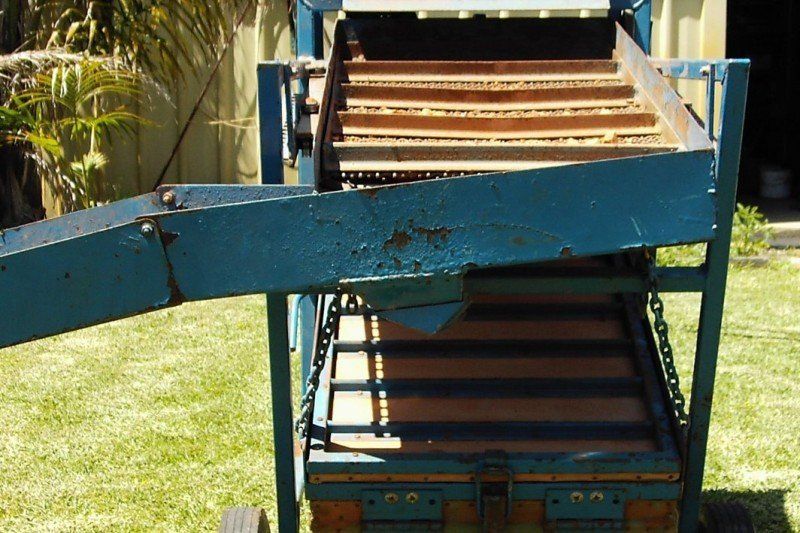
1583931043_archivepotos574.jpg
 
Nightjar said:
Moneybox said:
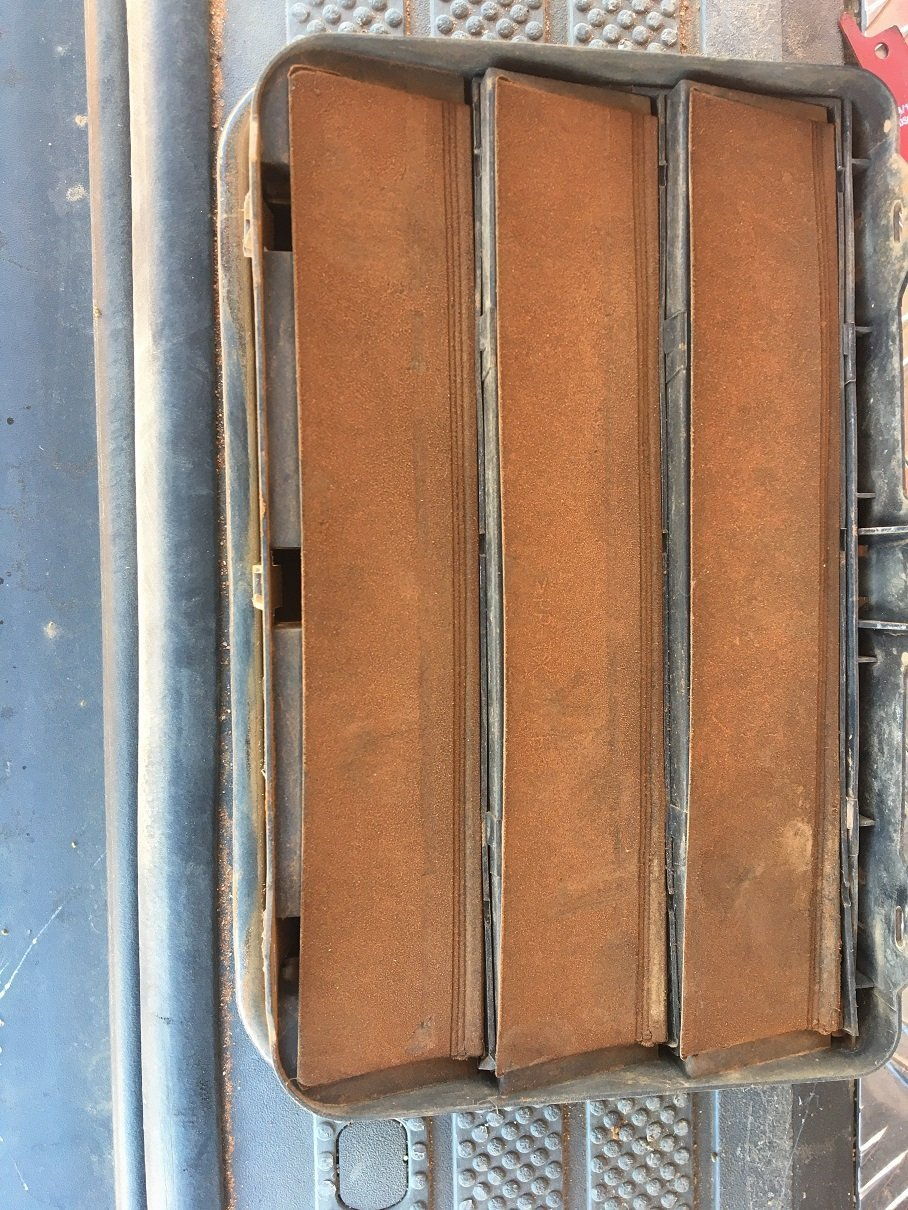
I'm a bit confused with the photos. I take it the wood is the down/air-feed side. The blue frame is the rifles?

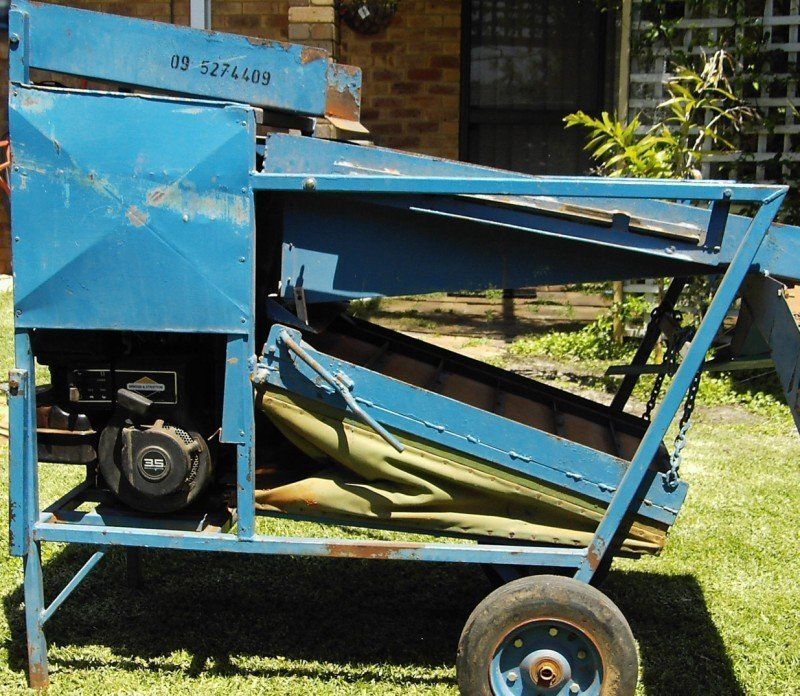
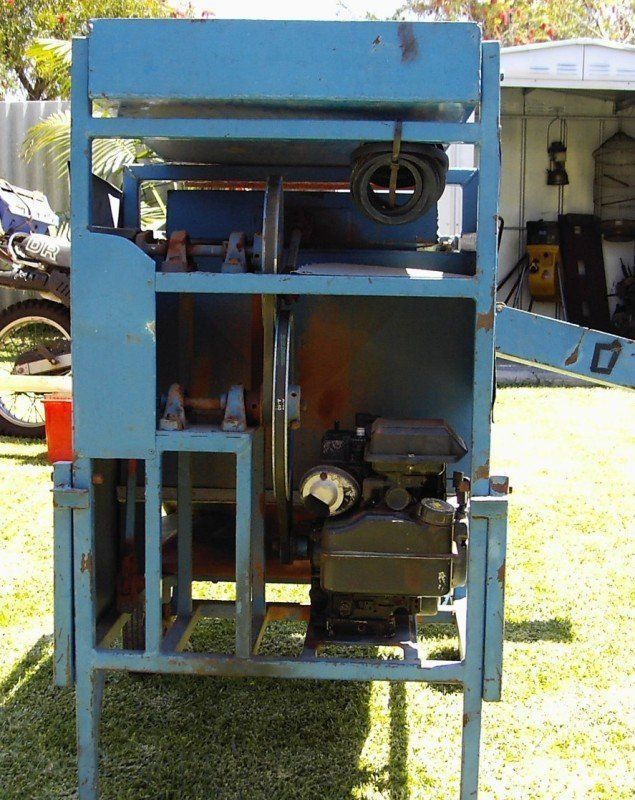
Yes, the wood is the underside and blue is the upper. BTW that is from an engine driven dry blower I built years ago, probably quite a bit larger than your machine.
You're on the money reducing the underside slots, because there is less air from bellows as opposed to the continuous blower air.
A good indication is when the bellows dry blower is running empty you will see a slight lift in the cloth on the upside against the riffle.
When loaded you will see the dead spot up from the slot and the the dirt then begins to bounce as it gets nearer to the riffle.
The best indication is the tiny gold does not get past the top two riffles.
If dry blowing virgin ground always detect the over size after moving blower. If you're lucky any that does not fit through your top screen obviously spills off the end.
In the early days we detected old dry blowing oversize heaps and found many nuggets the old timers missed.
Yes tried that but the Keens does nothing on material that's already been through a dryblower. The air speed through the cloth is insufficient to puff because most of the dust has already gone and there's nothing to create a resistance. I need to up the airflow speed by reducing the orifice. Then I'm going to have sections before or after the rifles without airflow. That might need a bit of trial and error to work out the best option.


I know this is already on this site somewhere.....My Keens is exactly the same but only works with dense dusty soil when the tray is completely full. As soon as some cloth is exposed all the air escapes there and there's little or no puff :mad:
 
Sometimes I'd be better off if my brain shut down when I'm meant to be sleeping but then other times it can be useful :|

1583966521_valve.jpg


I'm concentrating on the cloth and blaming it for all the fine dust that ends up down in the bellows. Also blaming it for the poor airflow. What I need to do is modify that air intake so that the bellows breathes easier. I'll still change the cloth for something more dense but put a bit more effort into what's going on below.

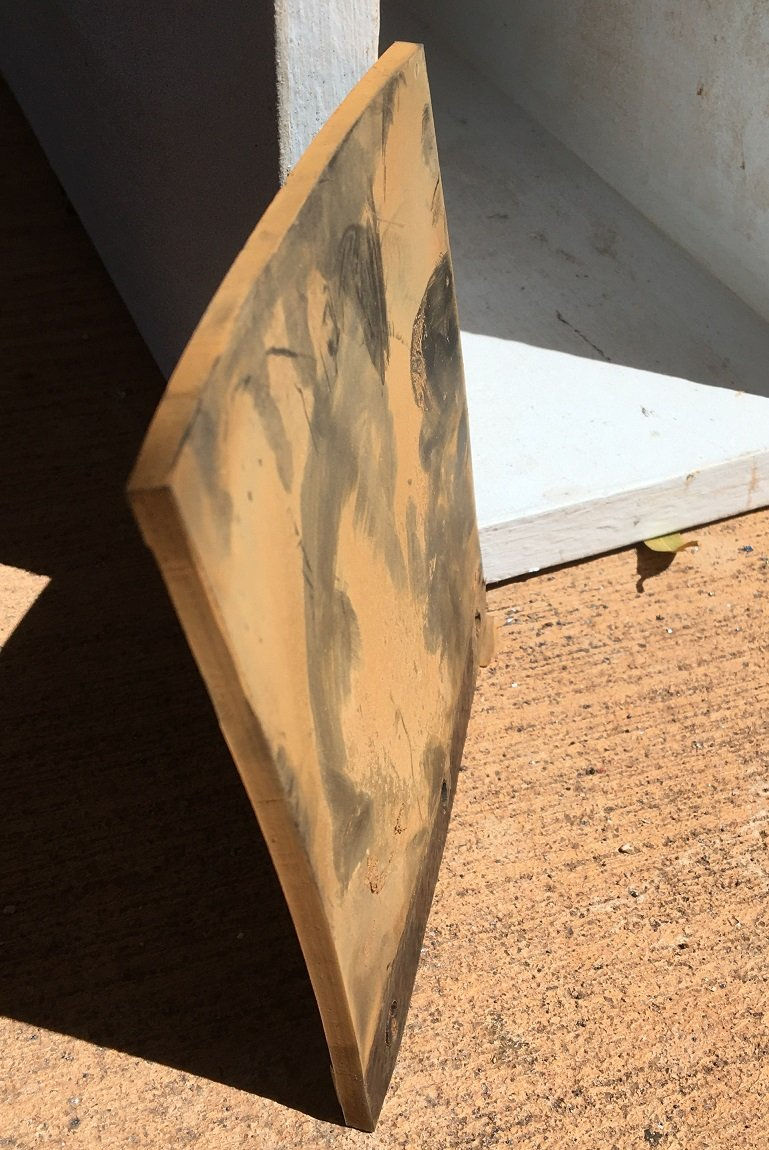
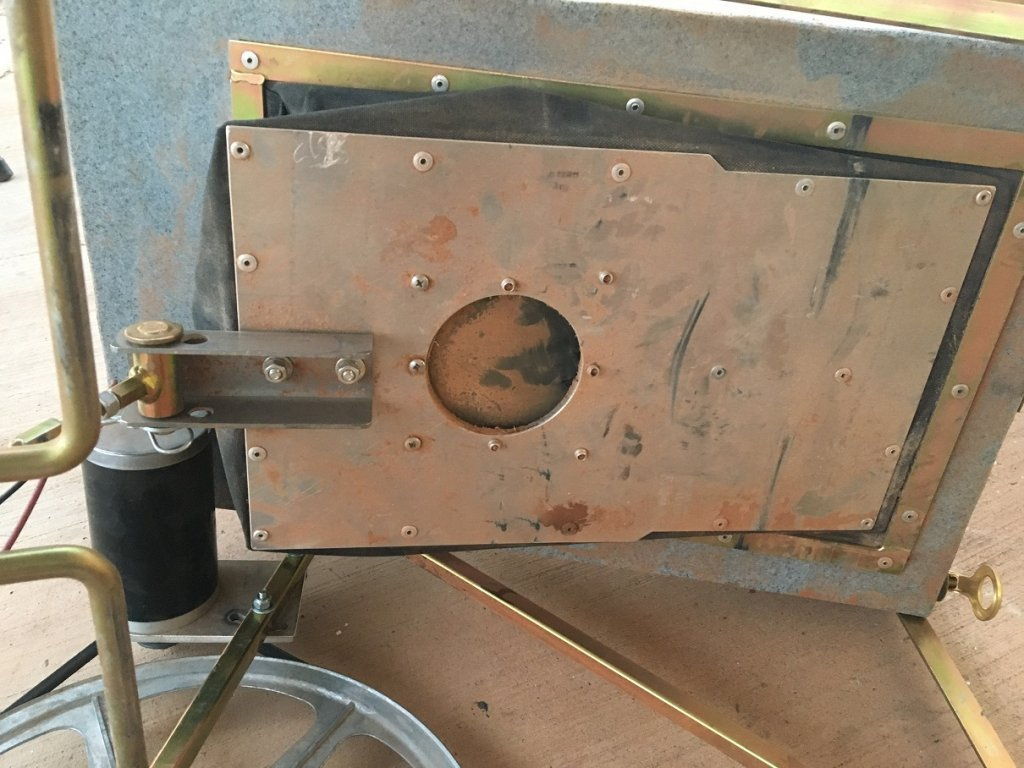
The 6mm insertion rubber covering the hole is too heavy and too stiff. It doesn't easily flap open and is so stiff it has a curve preventing it from sealing well on the return stroke. I'll go to a lighter material and maybe cage it to prevent it from opening so wide that it's not there for the return stroke. Then I'll take a look at opening up some more holes, perhaps just a series of small holes with a light flap covering it. Anything to prevent the low pressure forcing the dust down when the bellows is on the intake stroke.
 
Just watched the video you posted above, would enjoy putting their leftover piles back through my dryblower.
Very poor advertisement for dry blowing.
They are using pre-graded material?
Overloading the riffle tray, should be able to get a glimpse of the top of the riffles?
Run off the tray when finished loading, should be able to plainly see riffles and have about a third of the material they dropped into the pan dish.

On a positive note, sure would like to find some ground as rich as they were dry blowing! Wouldn't need a dry blower? :p :lol:
 
Nightjar said:
Just watched the video you posted above, would enjoy putting their leftover piles back through my dryblower.
Very poor advertisement for dry blowing.
They are using pre-graded material?
Overloading the riffle tray, should be able to get a glimpse of the top of the riffles?
Run off the tray when finished loading, should be able to plainly see riffles and have about a third of the material they dropped into the pan dish.

On a positive note, sure would like to find some ground as rich as they were dry blowing! Wouldn't need a dry blower? :p :lol:

This little Keens won't puff unless the tray is heavily loaded like that. With a light load the air just escapes and all you have is the vibration to sort the material and you have to run it steep just to clear the dirt.
 
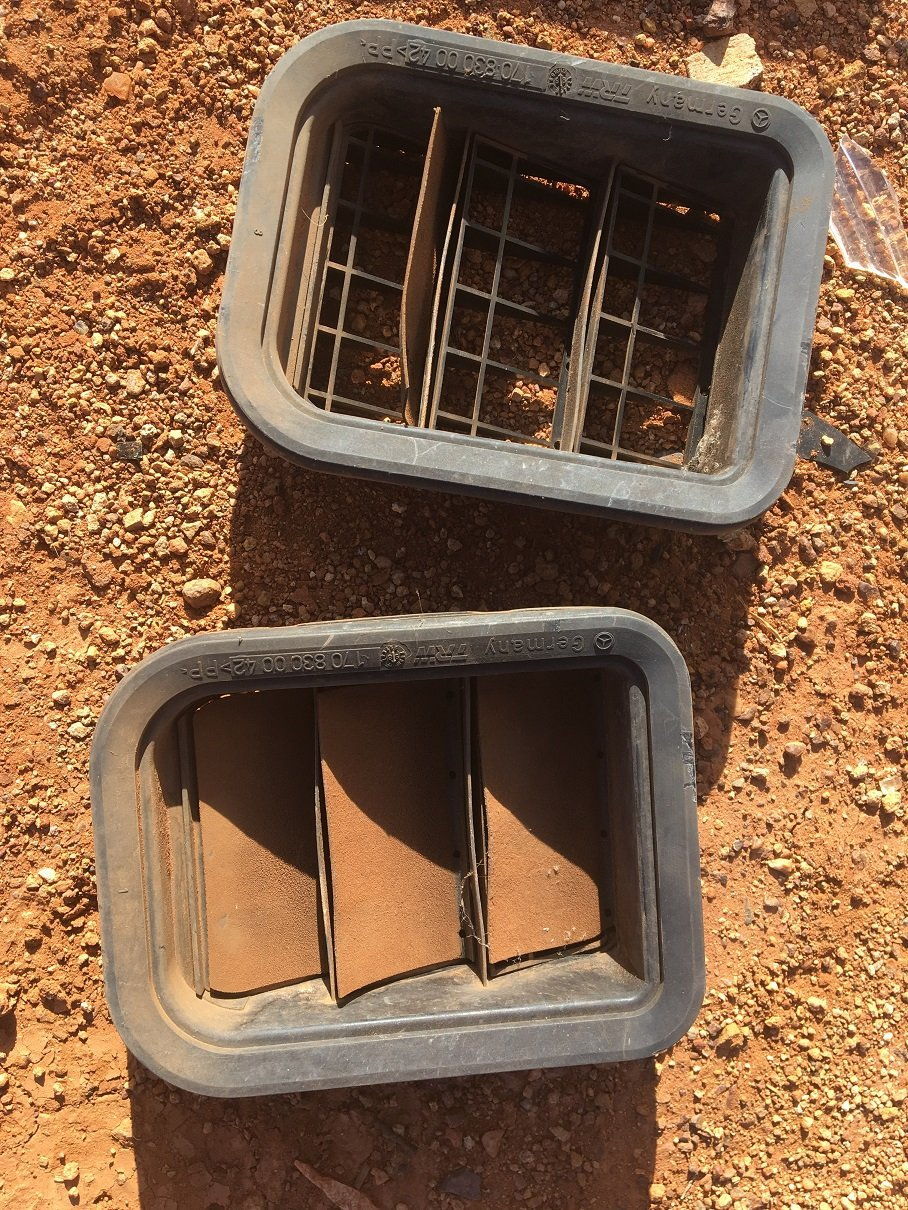
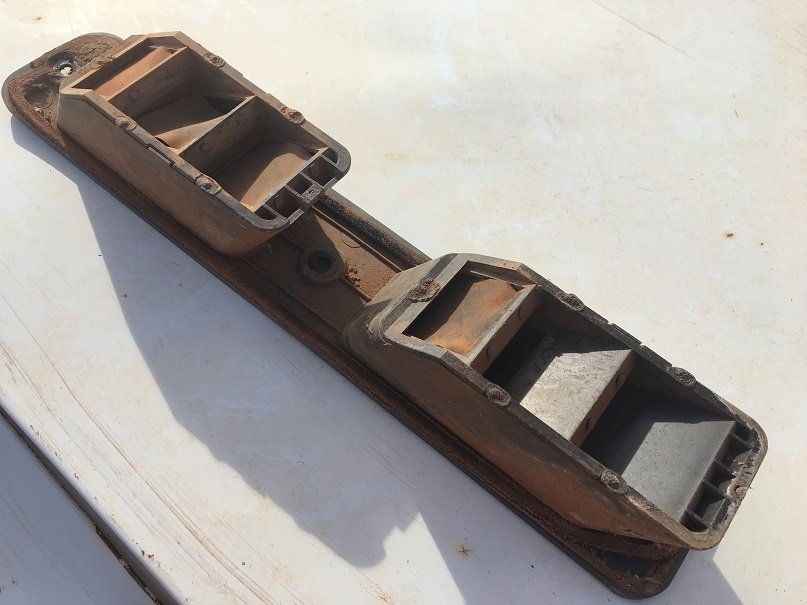
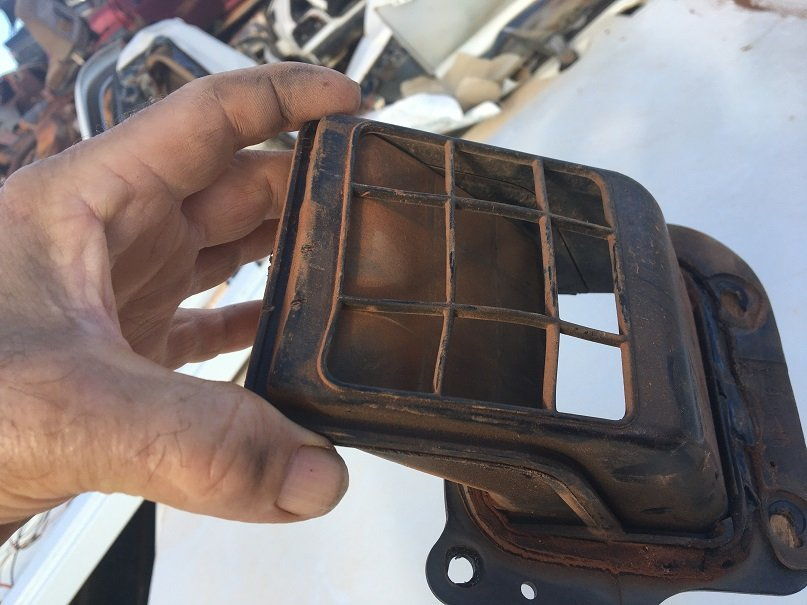
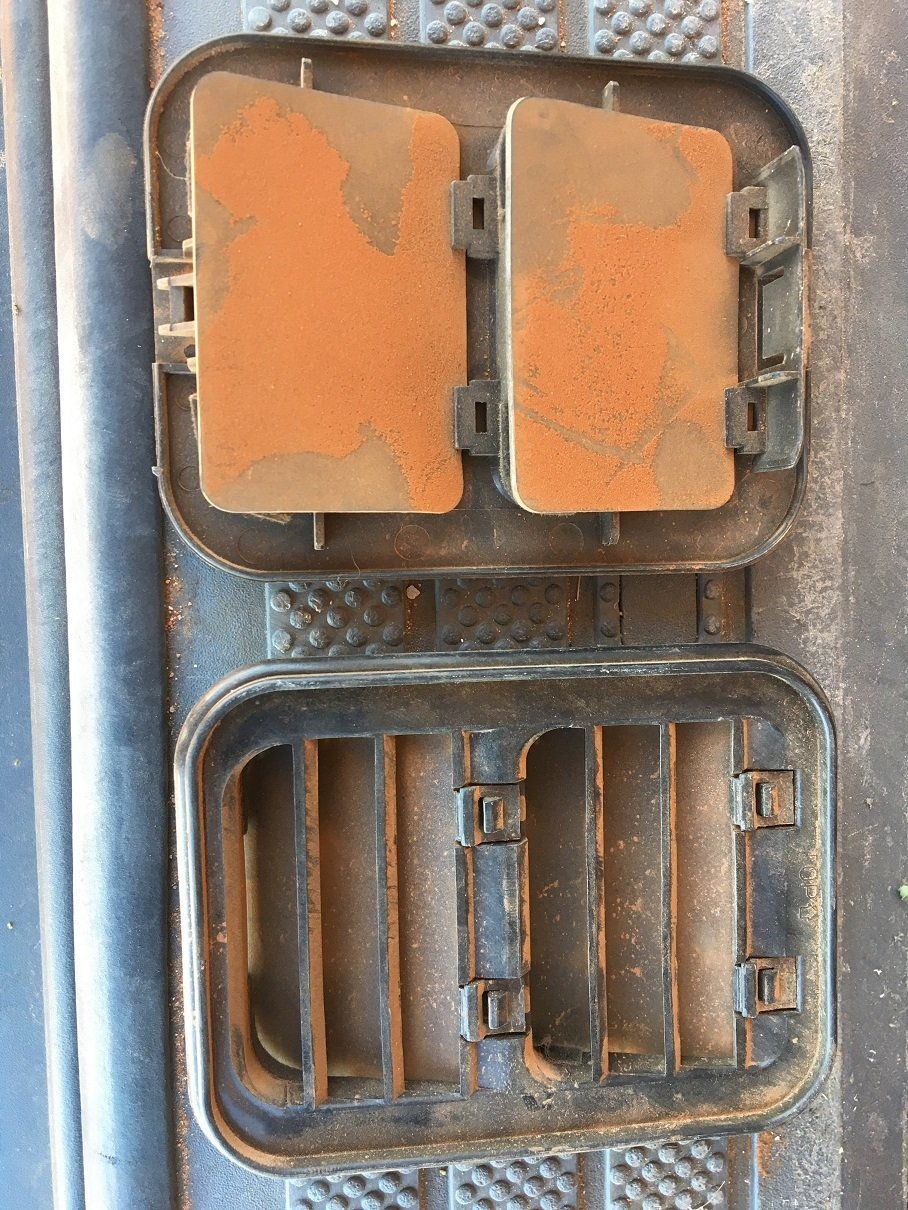
You don't have to invent the wheel. I just went looking for one way valves and I found these cabin vents from various vehicles.

1583977013_bmw.jpg


BMW 3 series

1583977047_merc.jpg


Mercedes M class 4WD

1583977085_navara.jpg


Navara

1583977112_honda.jpg


Honda CRV

1583977162_rodeo.jpg


And the best of all came from the inside of a Rodeo dual cab. It has and inner and an outer vent. And the best part is they won't even know they are missing until the hit a dirt road :lol:
 
I removed the heavy rubber flap because it never sits flat.

1583983079_rubber_flap.jpg


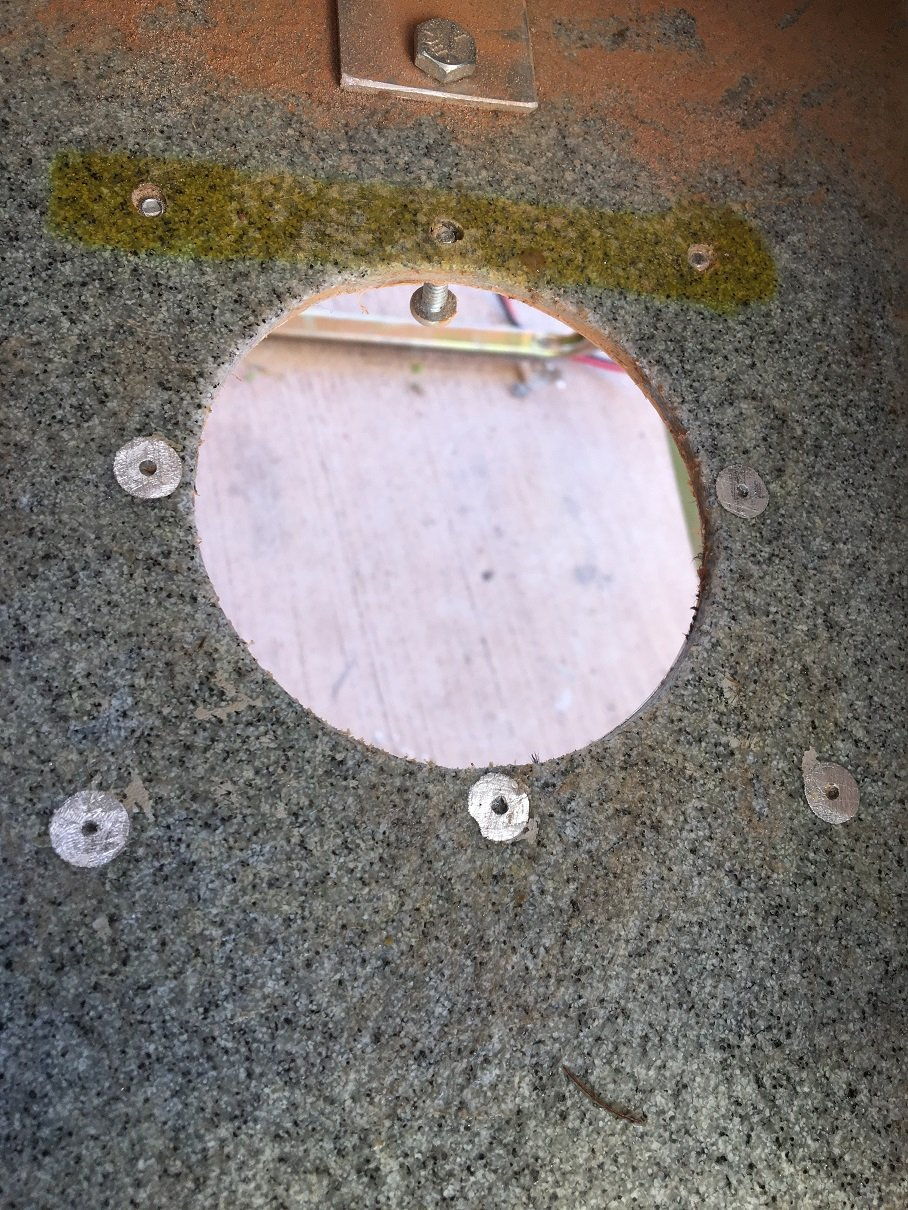
Under it I find a rough plastic surface with five exposed rivet heads.

1583983155_rivet_heads.jpg


I've ground the heads down flat and they are still holding so I guess they are countersunk rivets.

1583983232_paint.jpg


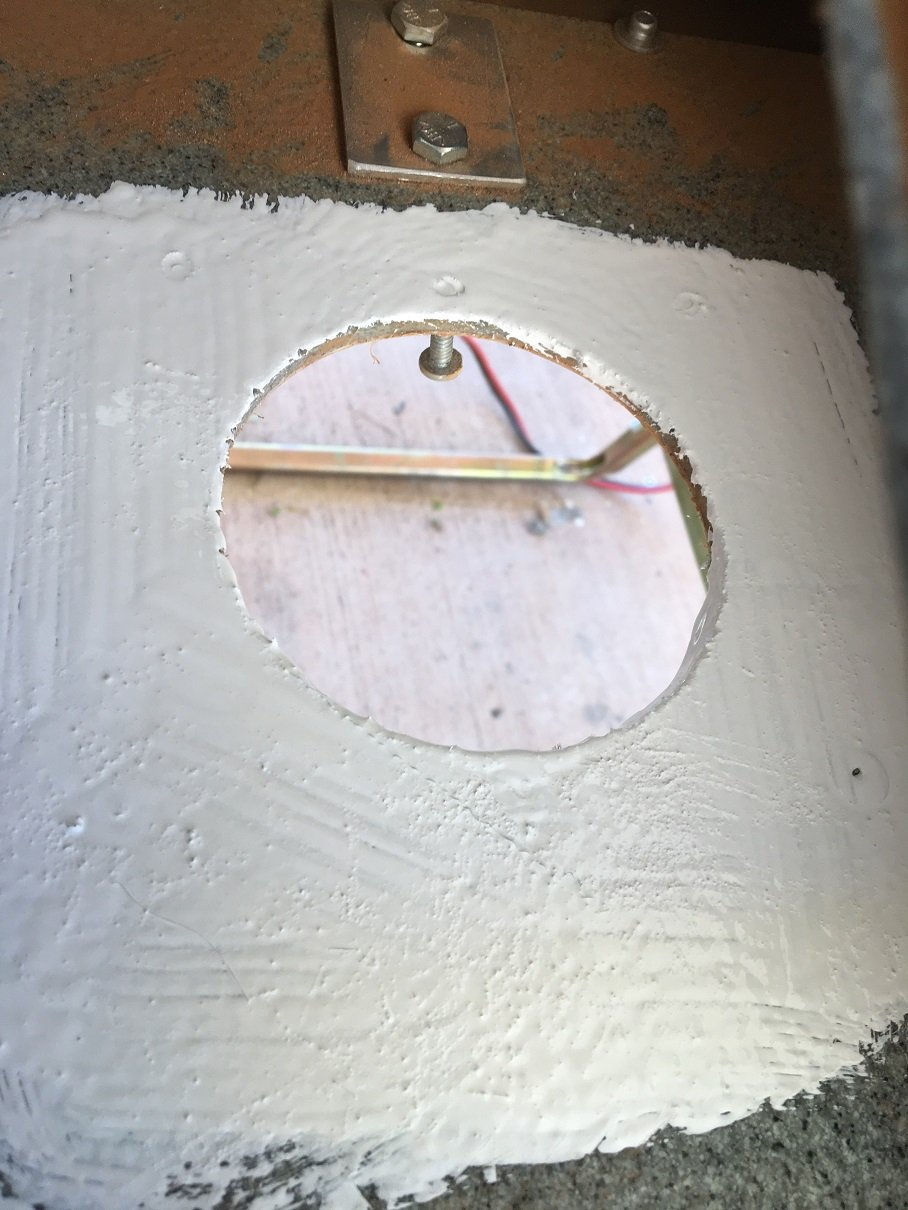
The surface is still too rough to give a good seal so I've given it a coat of water based primer. Perhaps it'll get another one and then hopefully it will sand down to a smooth sealing surface.

That top bolt in the photo looks loose too so I'd better take a look at that.
 
Guessing the hole is about 75mm, maybe light rubber flap will suck through hole?
You could drill multiple holes in a thin sheet of ply/metal, drill out the pops and attach it then attach a slab of inner tube to seal the holes on the pressure stroke?
Or you can lay awake tonight Phil, working on a plan. :lol:
 
Nightjar said:
Guessing the hole is about 75mm, maybe light rubber flap will suck through hole?
You could drill multiple holes in a thin sheet of ply/metal, drill out the pops and attach it then attach a slab of inner tube to seal the holes on the pressure stroke?
Or you can lay awake tonight Phil, working on a plan. :lol:

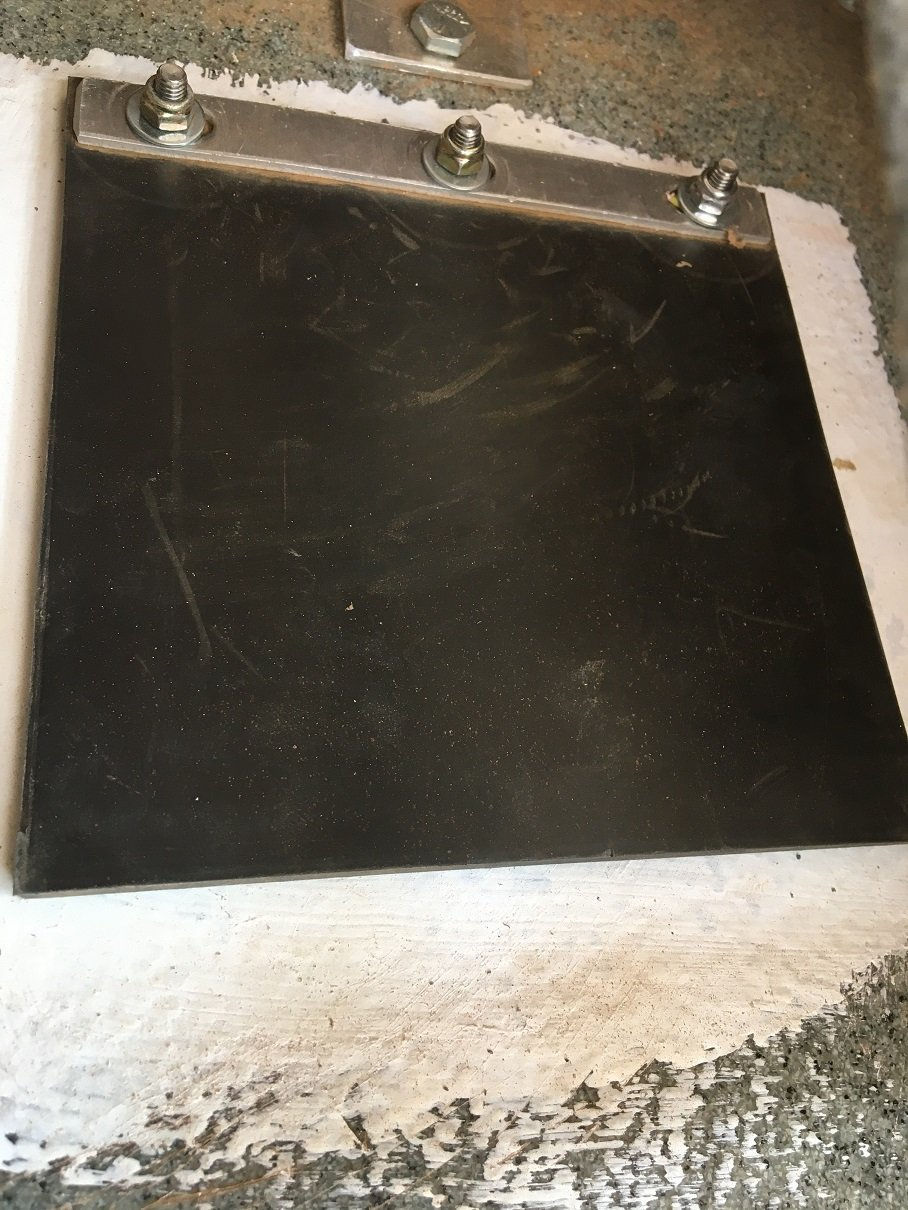
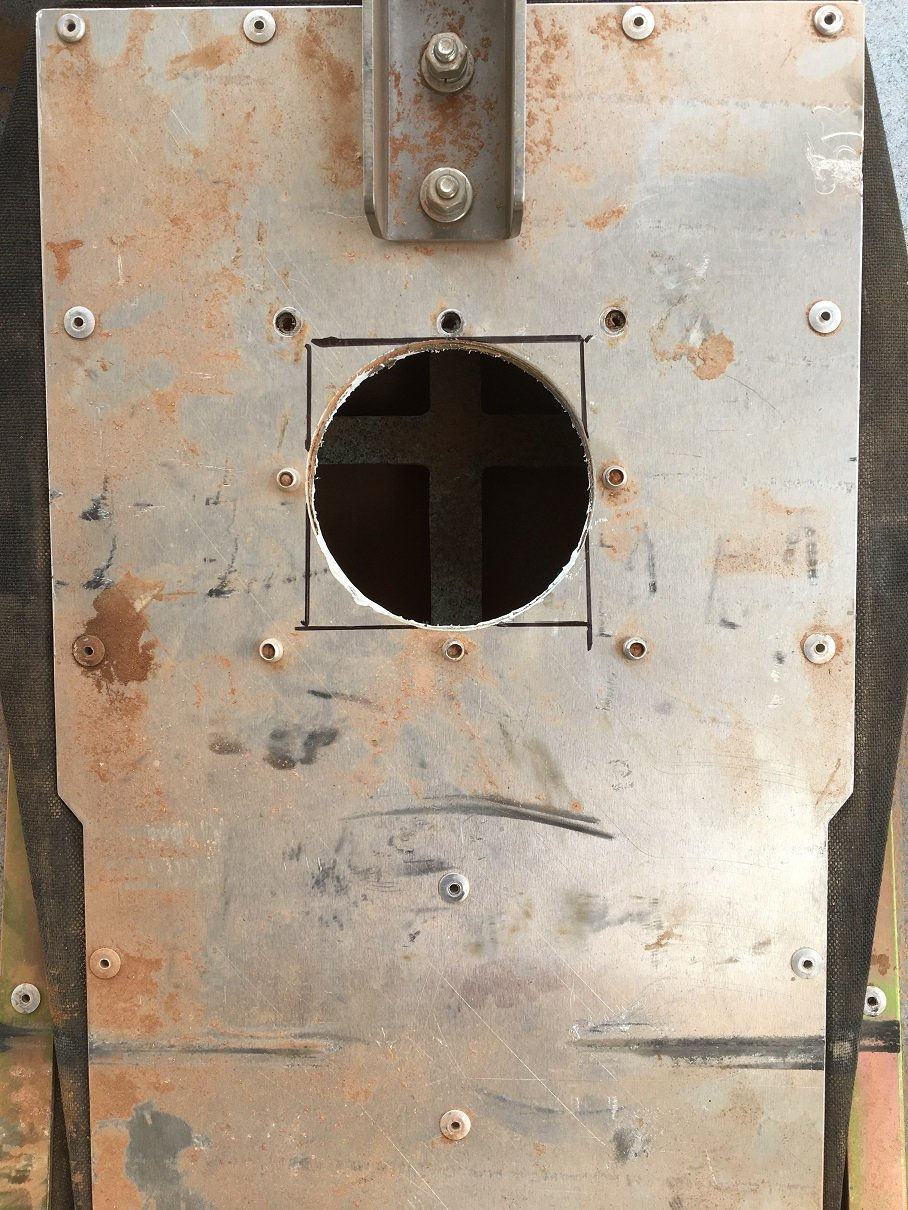
That's all fixed now. The rivet heads were holding the rubber flap from closing properly.

1584002050_hole.jpg


And then I cut the hole from 90mm round to 90mm square and gained 25% in area.

1584002371_flap.jpg


The rubber flap was only crooked because the bolts holding it were too short so they tightened them down to get a grip on the nyloc nuts. I used longer bolts and just nipped it up. Now the rubber is lying flat...all fixed.

Note the bottom of the lower photo. See how rough the inside of the plastic is, that's what it was trying to seal on.
 
I found a piece of polyester hanging in the wardrobe.

1584099431_new_cloth.jpg


It was a bit difficult to glue down with tension on it but it didn't work out too bad.

1584099407_new_rifle_tray.jpg


It blocks out a fair bit more light so I'll see how it works tomorrow.
 

Latest posts

Top