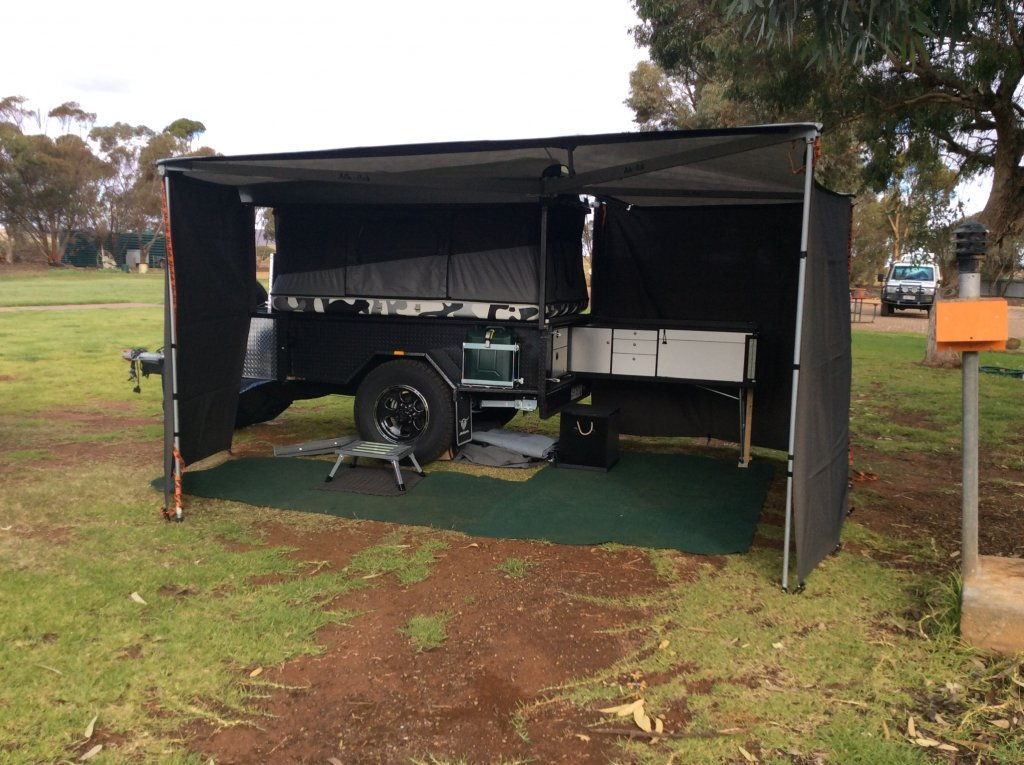
Awnings! The worst of worst!

Prospecting Australia

Help Support Prospecting Australia:

This site may earn a commission from merchant affiliate links, including eBay, Amazon, and others.
One point to be aware of, puting stainless rivets on aluminium is fine normally, but if you take your vehicle on the beach a fair bit (as we do here on the West Coast) then over time the damp salt air will penetrate into the mounting & the stainless rivets will cause electrolytic corrosion of the aluminium frame around the rivets.
When I bought my side awning & before mounting it, I put double the amount of large aluminium rivets into it.
Another key thing is to check them regularly if you do a lot of driving, especially on rough roads.
Mine has not come loose yet. If it ever does I will replace the rivets with galvanised gutter bolts
 
Ded Driver said:
One point to be aware of, puting stainless rivets on aluminium is fine normally, but if you take your vehicle on the beach a fair bit (as we do here on the West Coast) then over time the damp salt air will penetrate into the mounting & the stainless rivets will cause electrolytic corrosion of the aluminium frame around the rivets.
When I bought my side awning & before mounting it, I put double the amount of large aluminium rivets into it.
Another key thing is to check them regularly if you do a lot of driving, especially on rough roads.
Mine has not come loose yet. If it ever does I will replace the rivets with galvanised gutter bolts

Yup but Marine shops sell a thing called Duralac

It prevents galvanic corrosion which is an absolute mongrel as you mentioned , around salty air , or even salty soils.
 
I just got my "kings" awning delivered.
I'm in the process of beefing up the W extrusion.
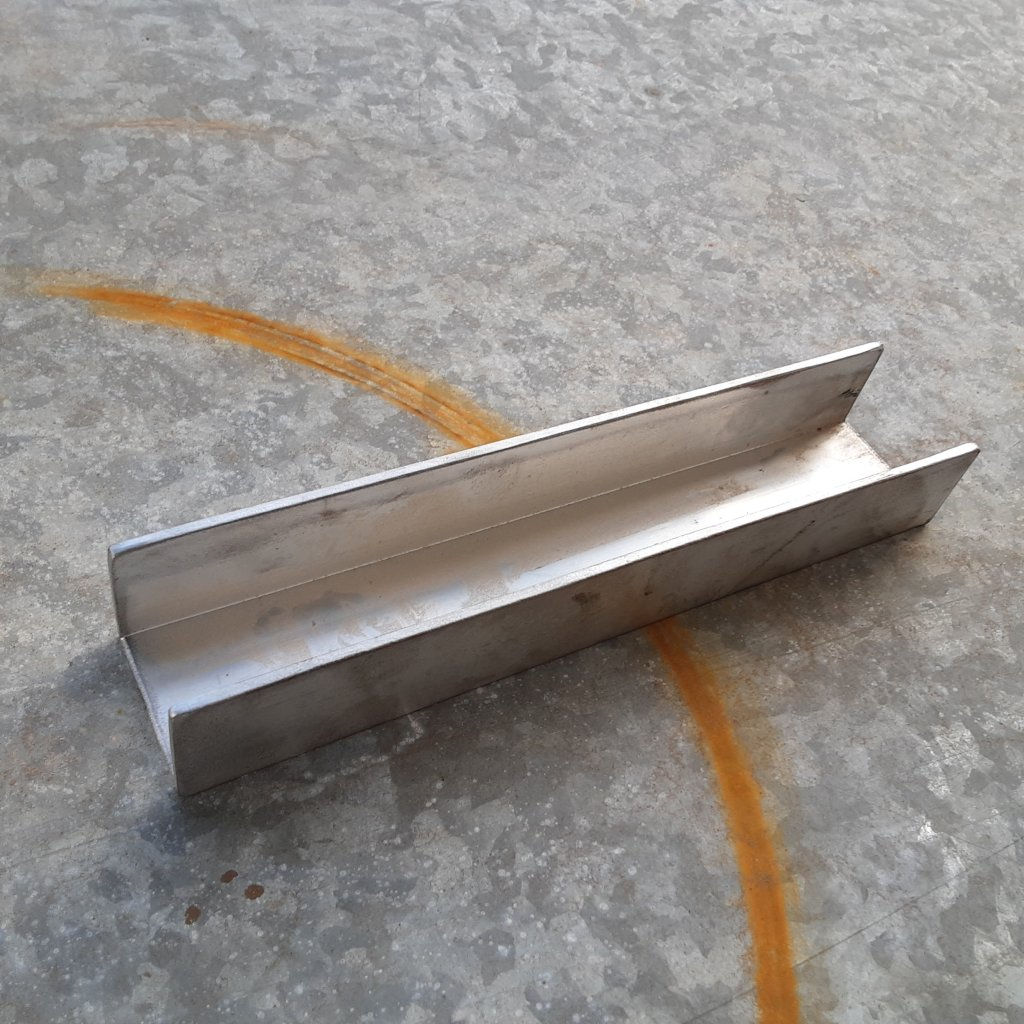
This requires a peice of 80x40x3mm alloy RHS.
Length depends on you mounting brackets. But 200mm is a good average.
You will get a pair out of one peice.
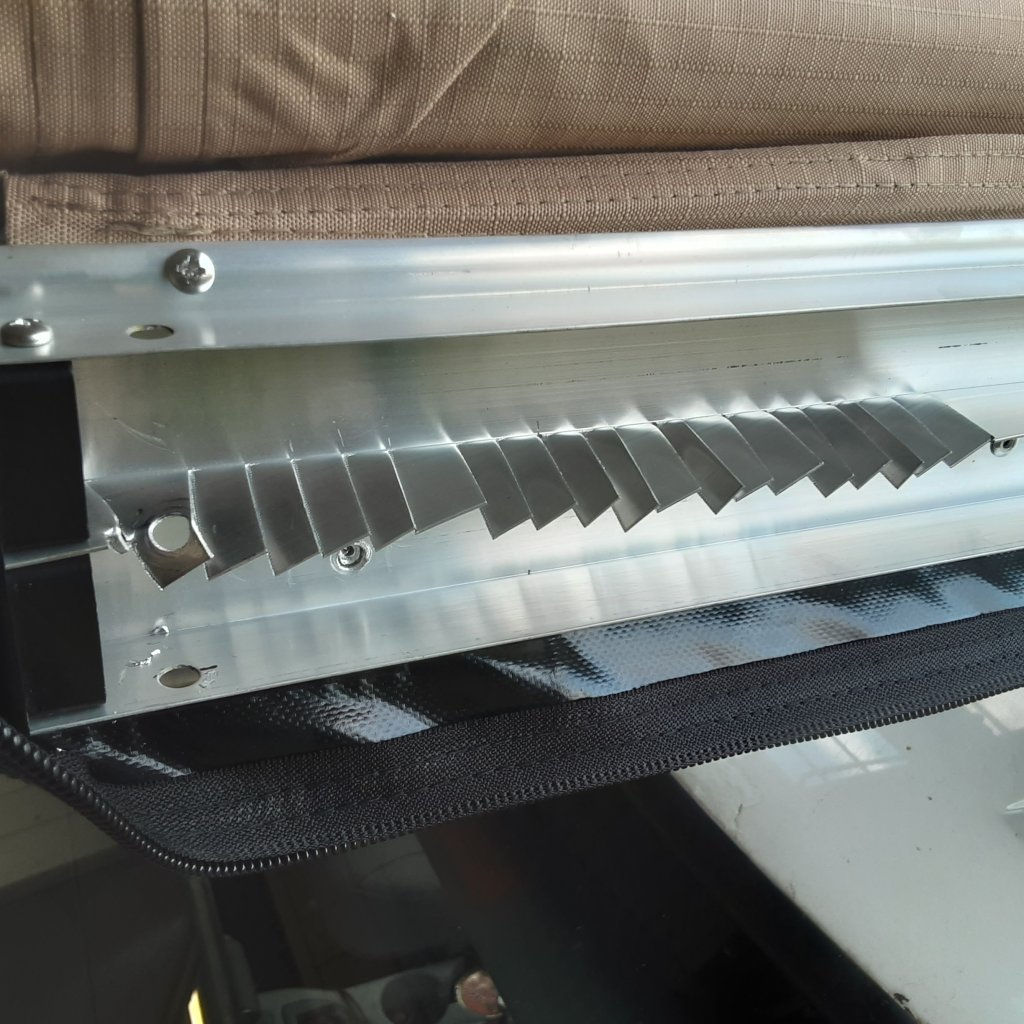
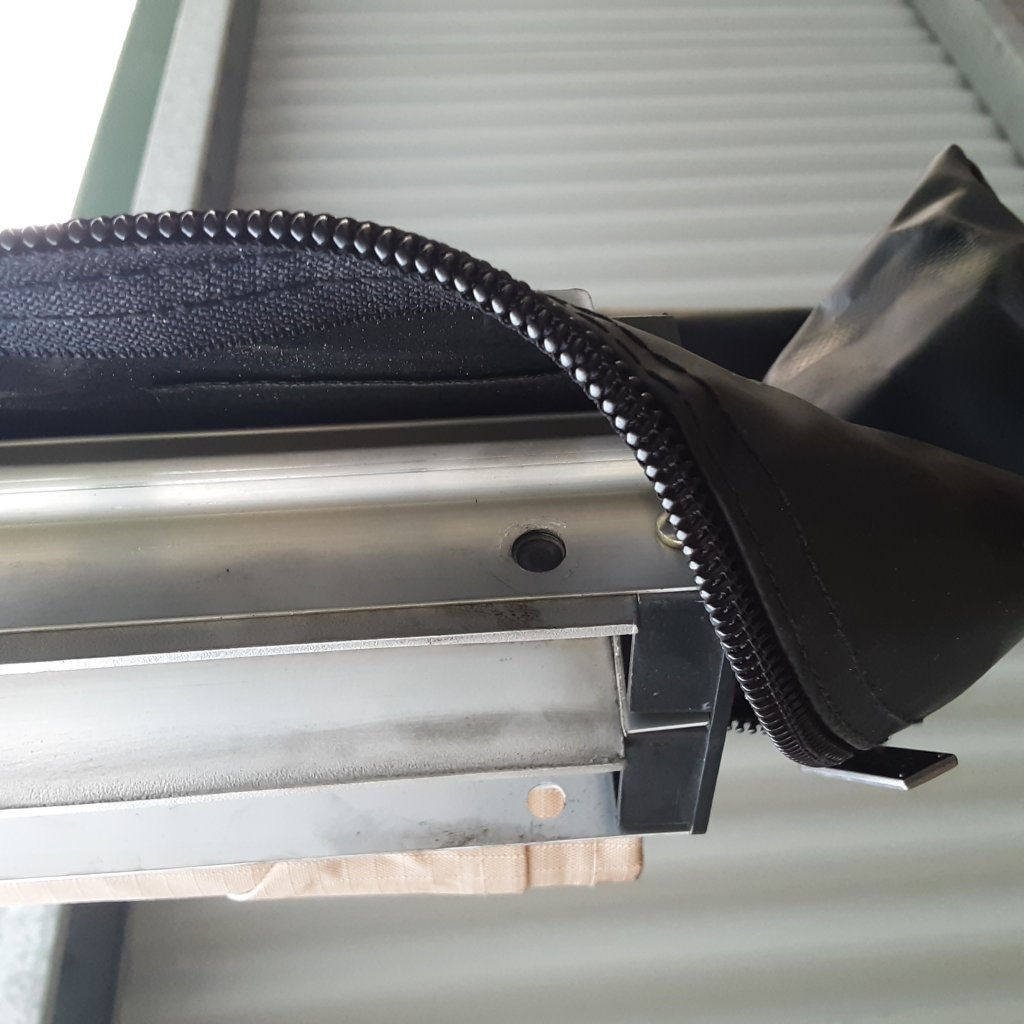
Basically measure in from plastic end clip 200mm.
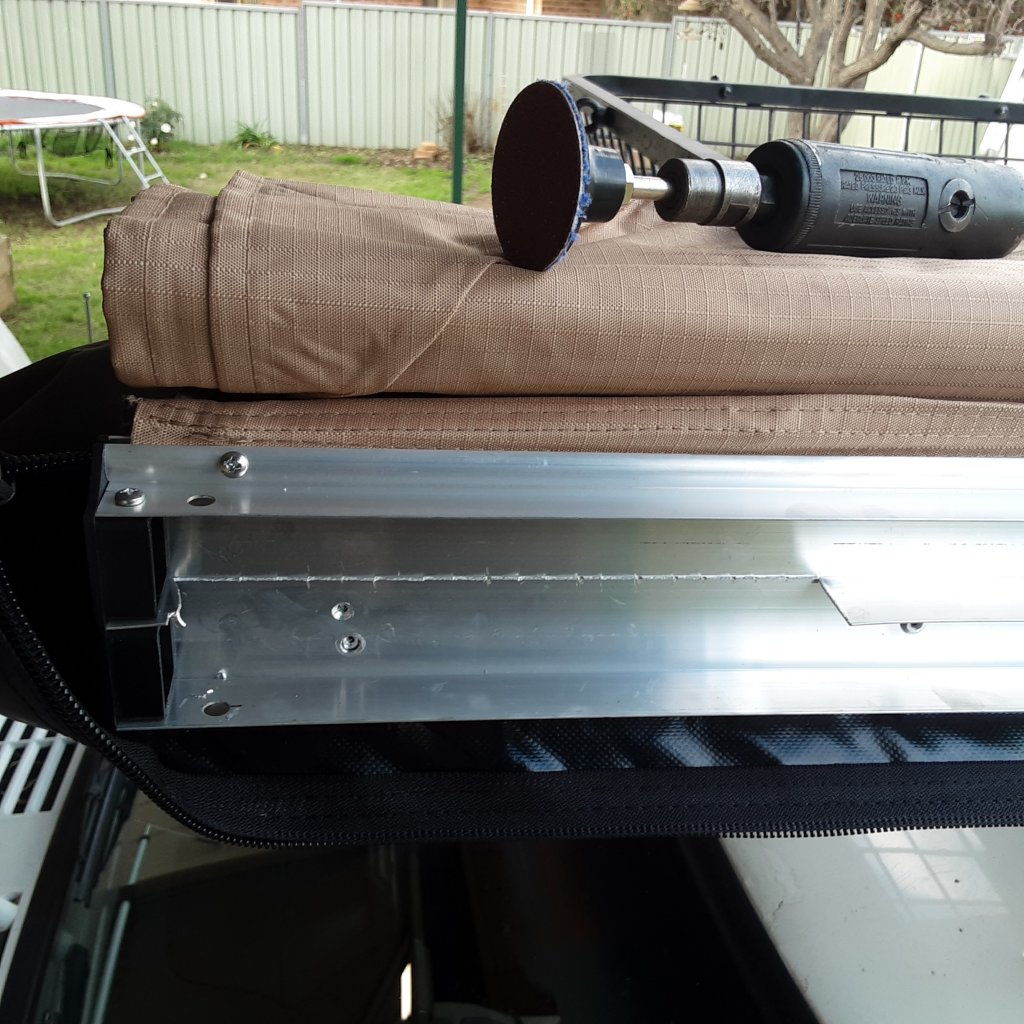
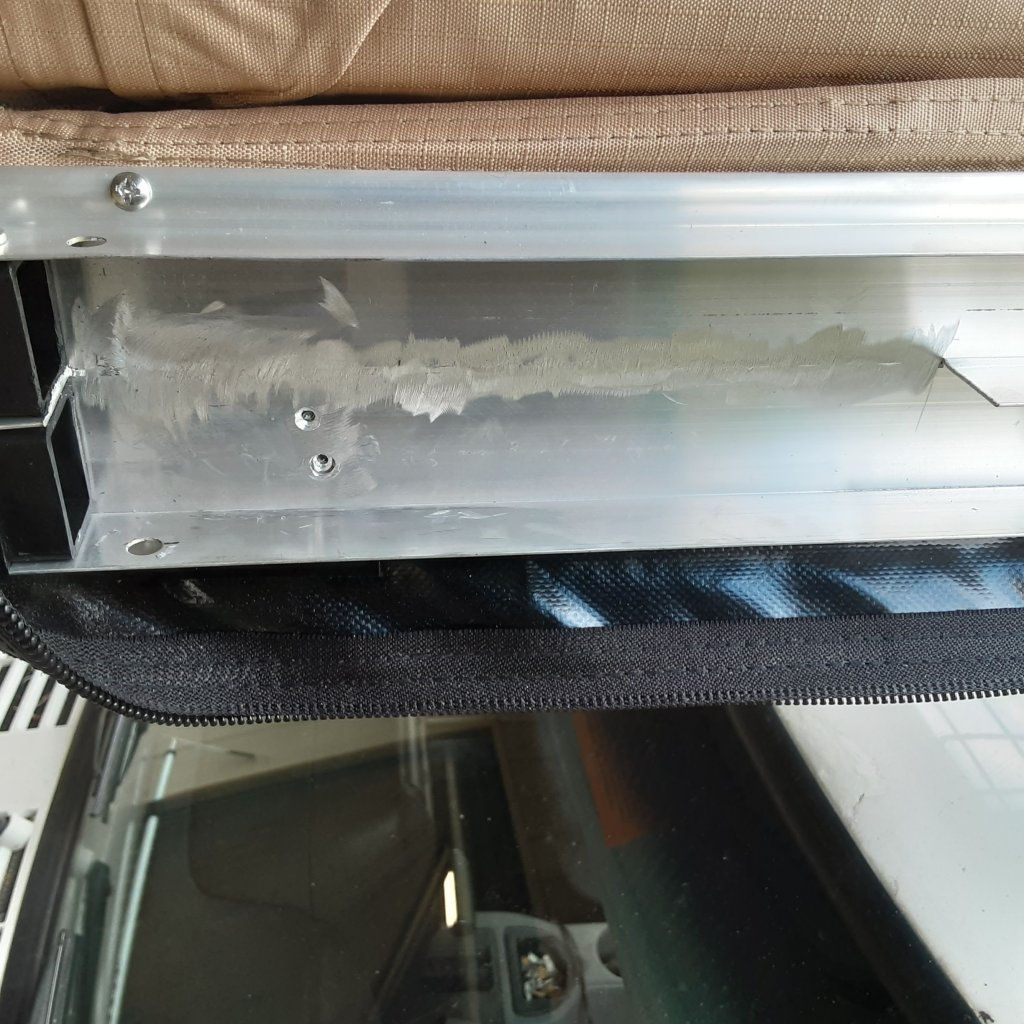
Use tin snips to remove middle fin, up to back wall of alloy extrusion (15mm cuts)
And twist to remove biscuits.
If you don't have a die grinder to remove burr left behind, try a sharp wood chisel.
The 80x40x3mm box can be split up the guts. Enough to get a pair for either end out of.
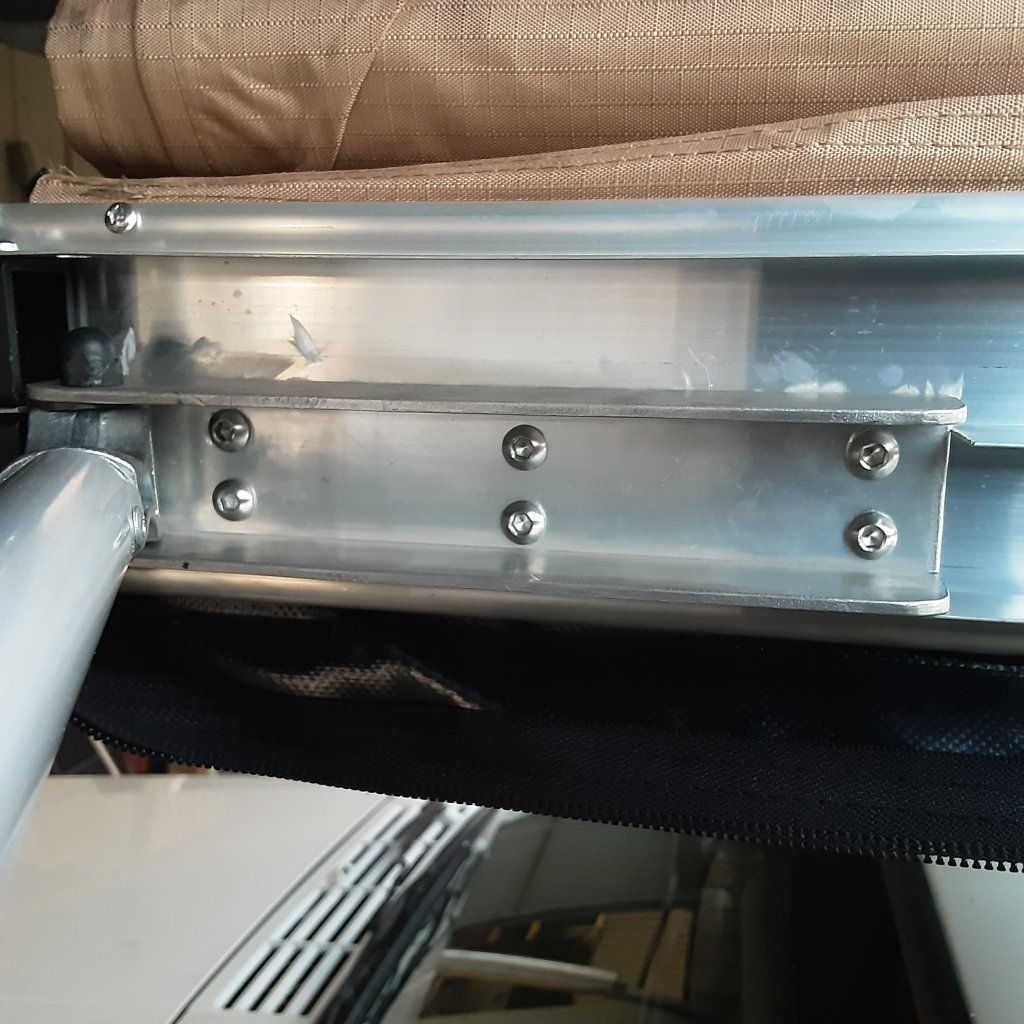
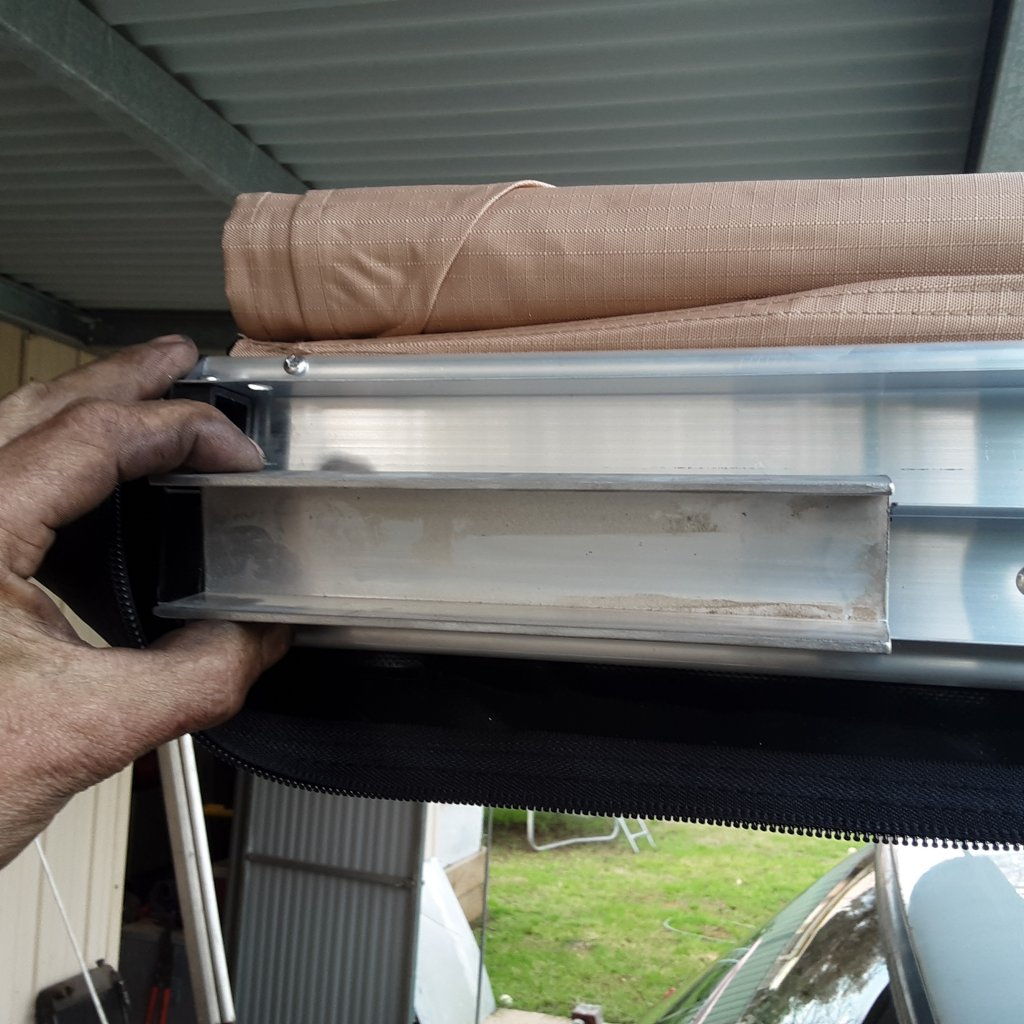
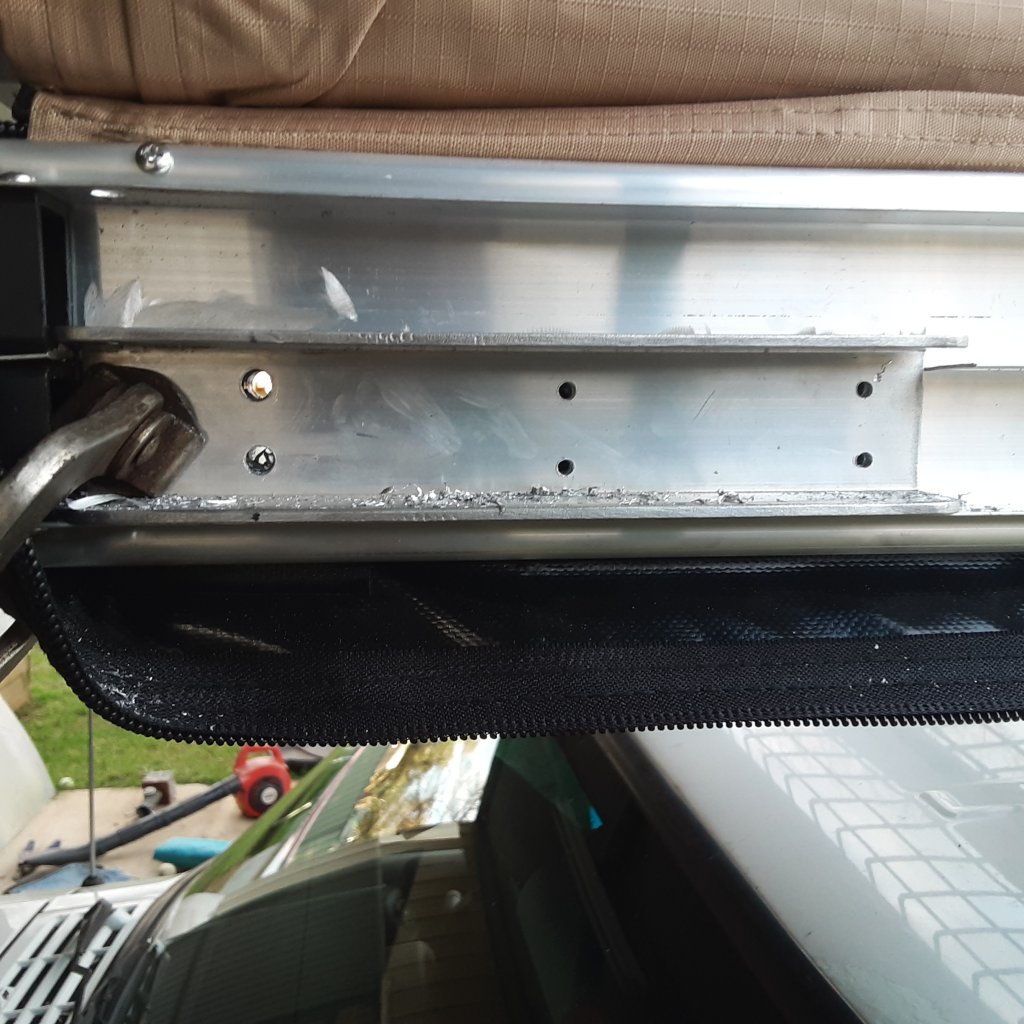
Once you have made a C channel out of of the box section.
Approx 35mm?
You can dry fit it and copy the original swing arm hole specs.
You will gain a few mm's in clearance, this can be absorbed in SS steel mudguard washer.
There is enough clearance to fit 5 or 6mm SS button head bolts to affix the C channel.
Drill the vertical swing arm bolt to suit.
You will need 2of 50 x 6mm bolts to suit the increase of thickness.
Photos uploaded will depend upon interest.
Far less flimsy, and heaps stronger. .
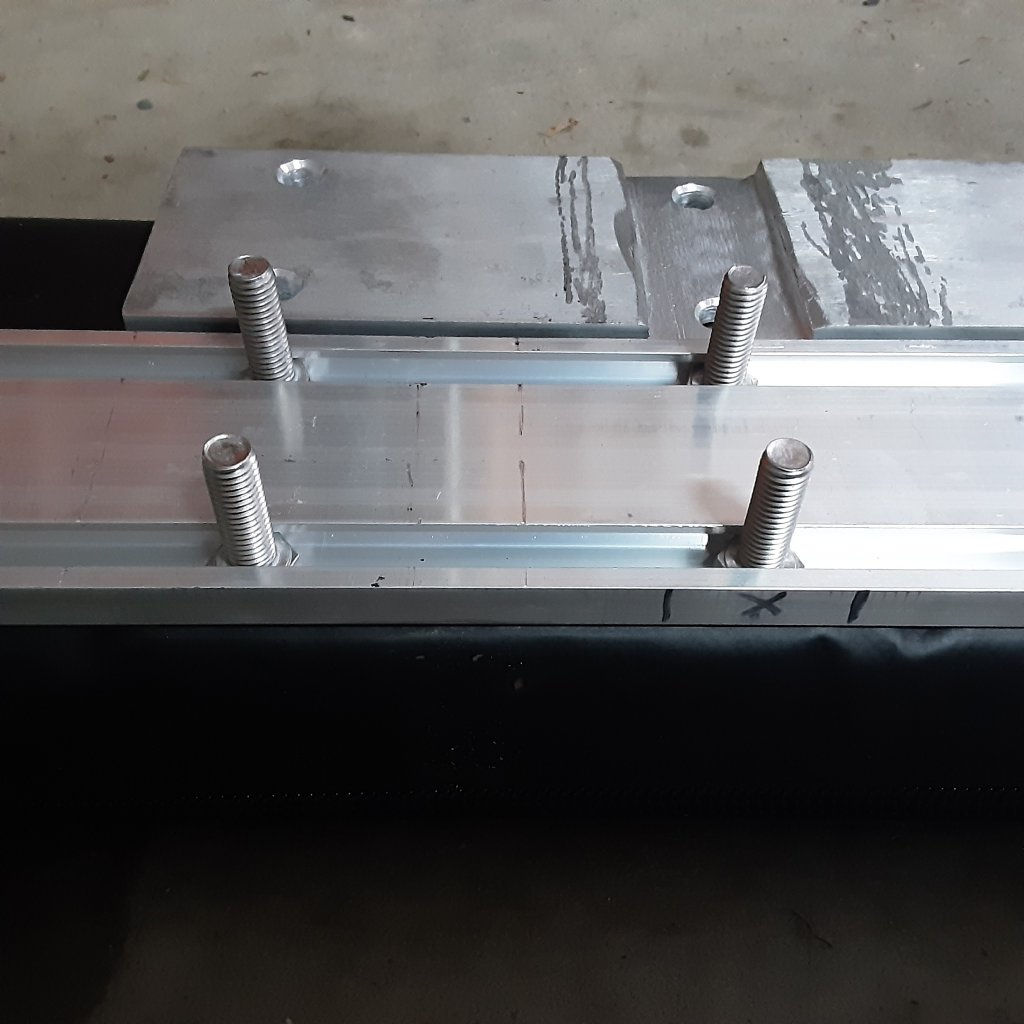
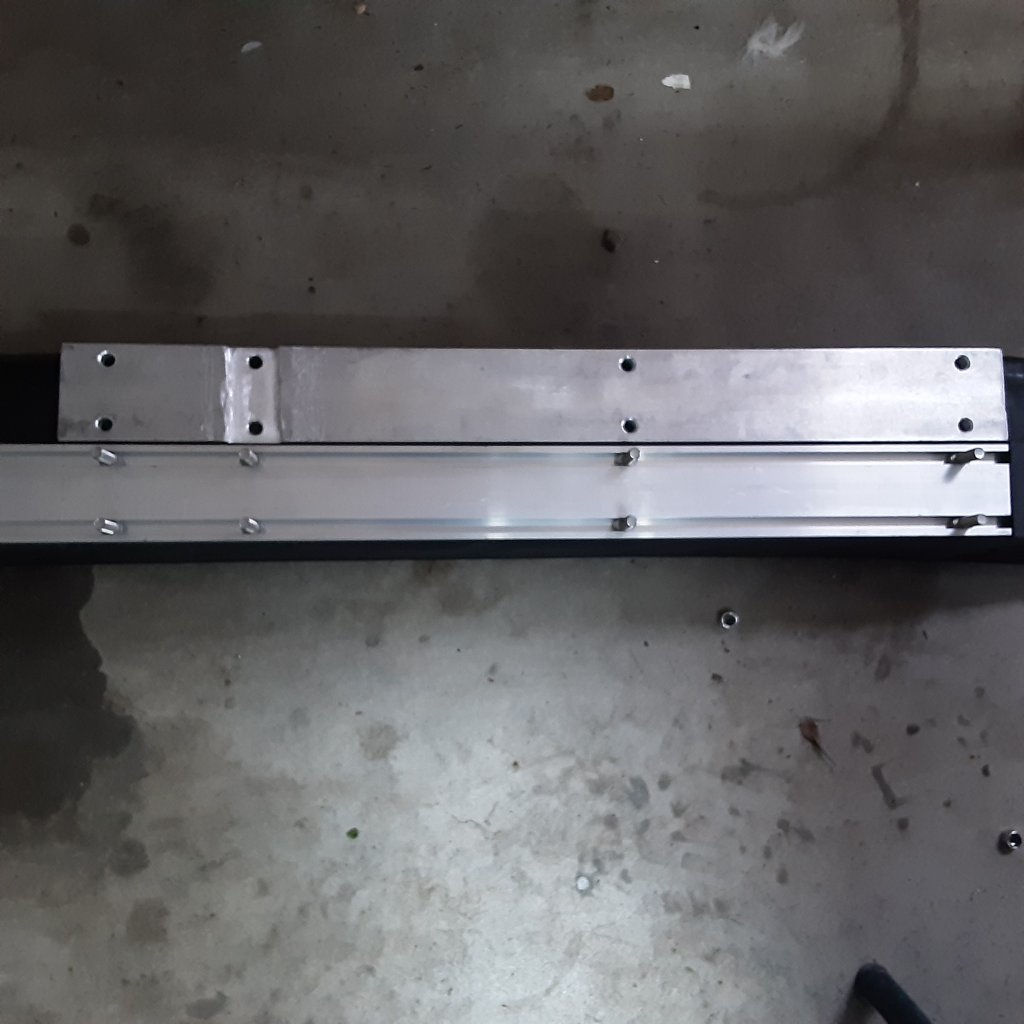
Backing plate for added strength has also been done.
Out riggers now swing out even. Without stress etc.
 
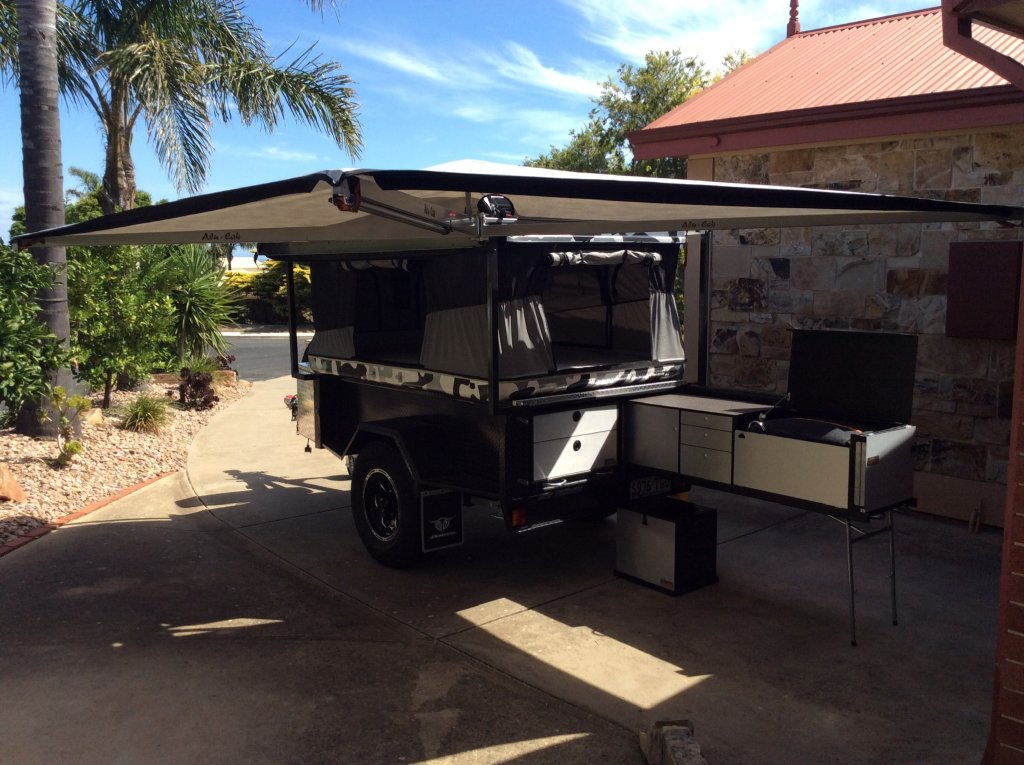
I've had a kings 2.5m side awning and a 1m awning for the rear. They both worked fine and I was happy with what I got (except the brackets rust super quick). But I wanted to close the gap between the two, since I was always wandering from my camp on the side of the car to my fridge in the back and wanted to dodge the rain.

So I got a 270 degree Kings awning. I thought it would be easier for a one-person setup.

Nope, the 270 really is a pain the bum. One of the roof poles bent on my first trip and putting it up and away is really suited to two people. I think the bent pole was my fault, it was raining, I was on a slope and I just wanted it put away.

If I had my time again, I would be looking for a 270 degree awning that self-supported when you got it out or put it away.
 
Will upload pics shortly.
If you choose to do m this modification. Buy a new 1/4" drill bit. They are about 6.35mm. Just enough clearance for the 2 new 50x6mm SS button heads bolts.
The factory holes in the extrusion are a bit over sized and floppy fit.
The fins on the Kings awnings must be like 0.6 ->0.9mm thick! :poop:
My out rivers now hardly sag now, without that stressed look when swinging them out.
The rivets I just drilled out and fitted 6mm SS button head bolts.
Don't use caps bolts as the will interfere with outr riggers.
The box section I used was only like $26 per meter.
It's best to get it long enough to pass your mounting brackets by 50mm.
This will help eliminate the twisting of overhang past mounts.
When drilling the 6 (?) 5 or 6mm Holes for the C - channel, don't crash into the mount brackets behind.
6 is plenty over 150- 200m of C.
Pilot with a 3mm drill bit is a must!
As you will probably crash with a a Side wall of the extrusion behind.
This will help eliminate skewing the hole.
Bunnings have the sanding tool I used to deburr the extrusion for $10!
Handy tool. Can be used in a high speed drill.
Cordless might be a bit slow on RPM.
I must have 8 cheapo $12 air die grinders from Aldi!
And one expensive one. Easier to just swap the tool, than change the bits!
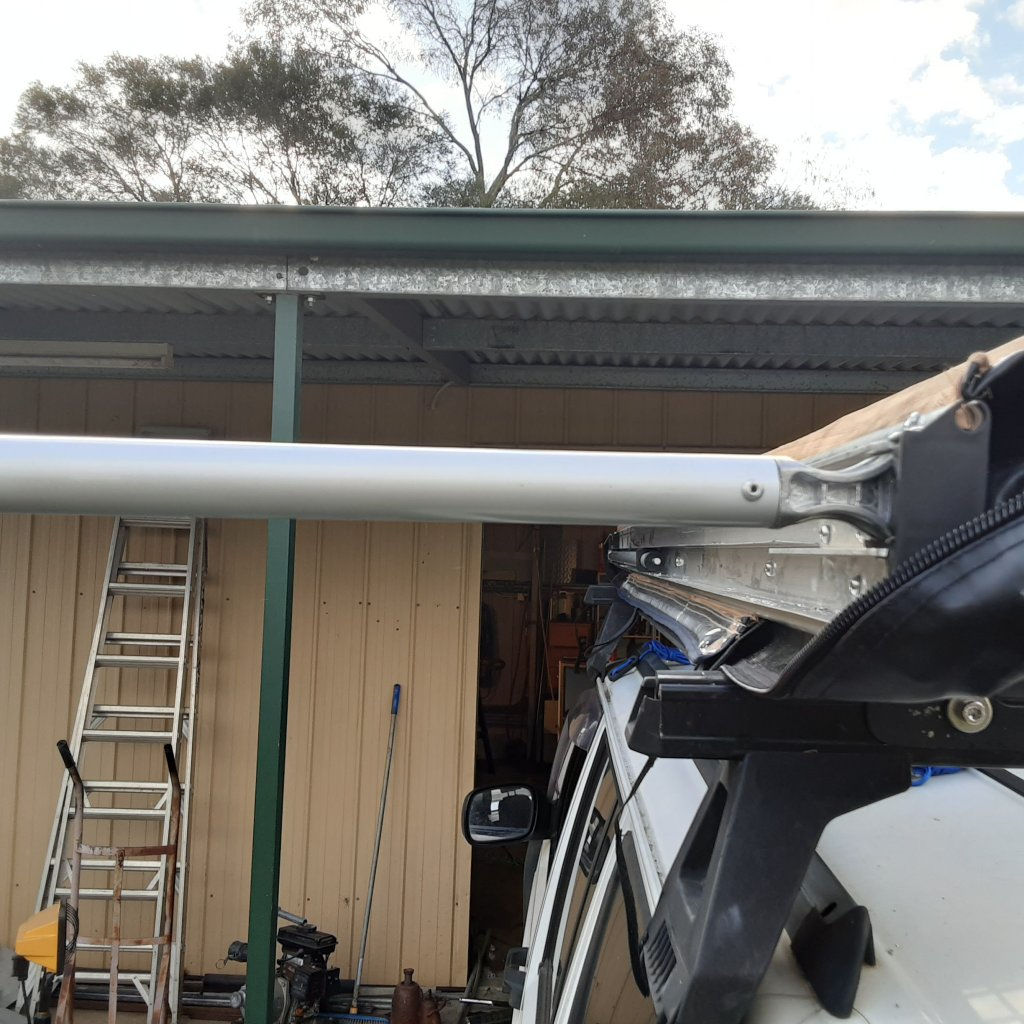
Add another rivet on the opposite side of the out rigger spigot as well. They are solid cast alloy in the tube section.
Drill to 6mm etc. Use correct rivet to suit
 
1594893024_20200716_170822.jpg

Make sure to stay away from spigot for clearance.
On this side, use the washer/s on the top, for re-alignment.
Opposite side is ..... Opposite!
:lol:
There maybe an ugly casting on either top or bottom of hole in the knuckle. File off till flat.
 
1594894138_20200716_155510.jpg

You will notice how much stiffer and sea level the out riggers become after modification.
I do have a little left over of the box section. Pm if interested.
Hardware can be also supplied if hard to access.
 
1.5 hrs taking it easy first time.
Between the mounting brackets, there is little concern of twisting etc.
Sheering off and twisting past the mountb brackets is the big concern.
Over hang is the big worry.
They can be beefed up big time by using 10mm Alloy flat bat bar 50mm before the brackets, up to the the end of you awning.
Not that expensive to do .
A 30mm x 5mm deep rebate can be made in ithe flat bar t too clamp either side of the brackets.
For the serious people...
 
Great mod job.
After putting one of these up on my own on a trip to darwin and back, i can definitely see the worth in taking the time to carry this out.
Just be wary on relying on those cast end peices on the poles, a gust of wind got mine as i was setting up and snapped the cast peice in half.
Ill be attempting something similar now after seeing this.
Cheers
 

Latest posts

Top