Home Made Slant Cabber

Prospecting Australia

Help Support Prospecting Australia:

This site may earn a commission from merchant affiliate links, including eBay, Amazon, and others.
Well the postman brought me a nice little parcel from RR :Y: :Y: several acrylic discs and a couple of wooden ones.

Just gave them a very quick try out as I don't have time to fiddle with them this morning. At medium speed ( this motor goes up to 10,000rpm) they run very well with very little vibration, some rubber feet under the machine might absorb this.
I'm especially interested with the wooden ones as I would be able to glue w&d sandpaper to them and remove it when it's worn out.
Any body know of an adhesive that could be used to do the same with the acrylic discs as they run a bit better than the wooden ones
 
I have found the speed/foot control that came with the motor bit hard to set at a low ( 2000 rpm ) speed so I've just ordered 1 of these, last of the big spenders :lol:

https://www.ebay.com.au/itm/AU-220V...392285324050?_trksid=p2385738.m4383.l4275.c10
I might have to make up a cover for it to keep water away, maybe just a little plastic tub with some holes on the side furthest away from any water source. :8
 
Had a play with RR's discs today :Y: They run very well, very smooth considering they are on an Elcheapo motor and splindle :clap:
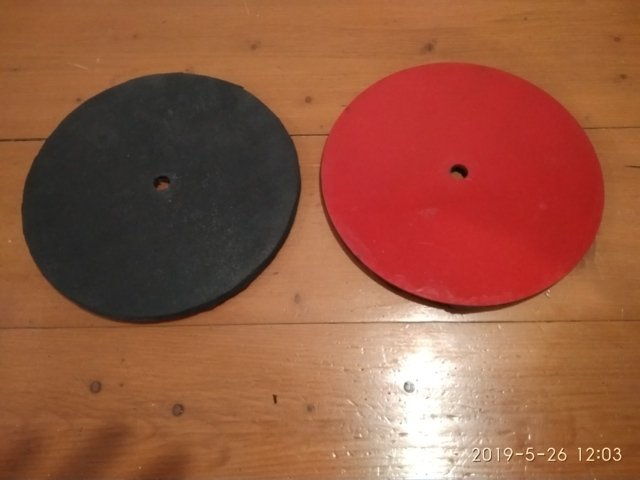
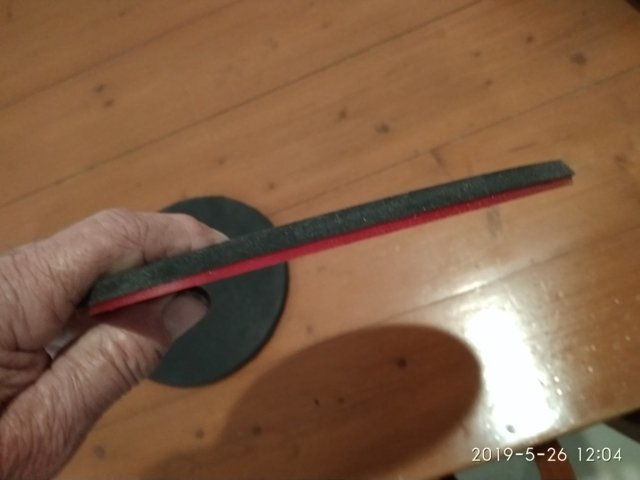
Got some spray on contact adhesive and sprayed it onto the acrylic discs then turned them upside down onto some 4mm foam from Clarkerubber, laid a bit of old mdf on top with a small weight for about 30 minutes, then cut around them with a VERY ( snap off blade) sharp knife. The 1st 1 I did a bit quick and got a few daggy bits sticking out the sides, so the others I took a lot longer, angled the knife under the discs a bit with a bit more pressure and they came out pretty good.
Next came the centre hole, tried to cut the 1st 1 with the knife :( didn't come out very well, very daggy , so then tried a very small screw driver (3mm wide blade ). Placed the disc foam side down on the bench and proceeded to hammer the screw driver through the foam all around the centre hole, plug popped out nearly perfect :Y: :Y: :D

Black is foam side up,Red is acrylic side up
1558837706_img_20190526_120340_.jpg


1558837736_img_20190526_120402_.jpg


Another trick with this setup is to start the motor in the highest speed then slow it down to the working speed, it seems to vibrate a fair bit at lower speeds at start up, but doesn't if you slow it down.
 
Well I'm afraid this is not going to be finished before we head off for warmer climes on Saturday 8.( No good trying to paint it in 10c in the shed, so I've ordered a couple of bits from China so they will be here ready when I get home.
Thanks again RR, the HMSC is looking good now :Y:
Can't wait to get out of Melbourne atm, bloody cold.
 
You'll thought I'd forgotten about this didn't you ?
Just been too darn cold to do much but it's starting to warm up a bit now.

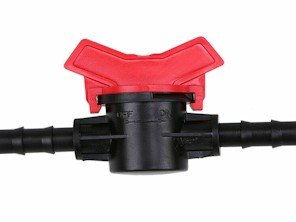
Got a speed controller and a couple of drip taps from China so ready to go again :Y:
 
Been doing a bit of a play around with this project and need some ideas, I'm a bit stuck :(

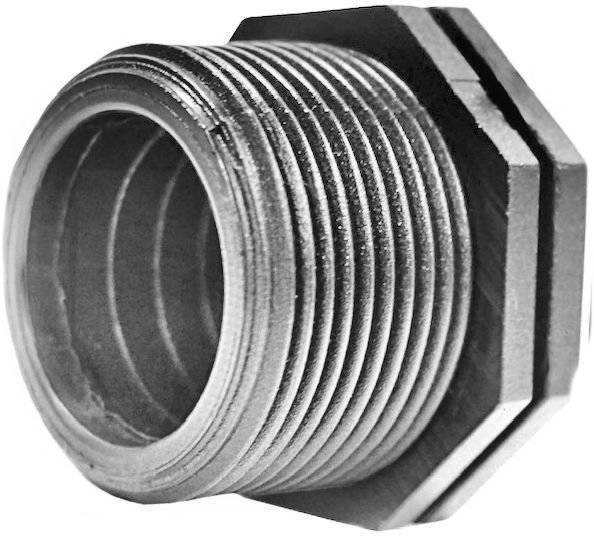
Any ideas for the drain hole at the bottom. I can drill the hole ok but how to fit a drain tube ?
 
Good to see your back into this project. Plastic drain plug with nut, numerous sizes, bunnings or
your local plumbing store. A rubber washer and a little silastic to seal it properly and some
clear plastic hose. good luck :Y:

1578132240_plug.jpg
 
Back on the work bench and I have a couple of questions.

1/ the motor rotates anti clockwise, does this matter ? :(

2/ Do I have to have a master backing plate ? got to be careful with funds atm , super took a hit :mad:

Elcheapo speed controller works ok :Y:
 
Rotational direction shouldn't make any difference, provided the fixing nut is threaded the correct way so it doesn't come undone when you start the motor. Anti-clockwise needs a right hand thread, clockwise needs a left hand thread, looking from the lap end of the shaft. You just work on the side that pushes into the stone.

A master will depend on the laps you're using. The thin topper laps all need a backing plate, often with a magnetic topper glued to it so it grips the lap.

Felt, rubber, acrylic for polishing will all need a backing master, different from the magnetic one, felt and rubber are normally permanently bonded to a backing plate. Acrylic, it's purely for support against stone/hand pressure.

This mob: https://www.gemworld.com.au/products/show/348/polishing-laps used to have backing plates with a screwed boss in either LH of RH threads, I have some of them which I purchased from them, think they might have been custom made, so could be worth giving them a call, otherwise contact people like Gemcuts for threaded backing plates.
 
Reviewing previous posts, I hope you can drop the motor speed, 2000rpm, you'll never keep the cutting laps wet, I'm just gearing down our 8" drum machine to around 500rpm. :(

You also need to be able to vary polishing speeds otherwise things might get a bit hot and dopping wax could melt.
 
Thanks for that, I can control the speed ok , I didn't think the rotation direction would make any difference, and I think I can use the acrylic disks RR made for me as backing plates.
 
Found another slight problem with my design, because of the slanted back section I can't fit in the speed controller and enclose it to make it safe, so tomorrow I will have to address that by extending the sides and covering the top. I may even make a totally new body for it when I'm finished.

The other thing I have to work on is the watering system, thought of getting some empty saline drip bags from a vet as they come with their own hose and tap.

Thoughts, appreciated
 
Get a 20l water container, commercial soap or chemicals come in these and they often throw them away. Talk to a commercial cleaner and see if they have any empties. They come with a tap, so run the water feed into the centre of the lap.
 
Dihusky said:
Get a 20l water container, commercial soap or chemicals come in these and they often throw them away. Talk to a commercial cleaner and see if they have any empties. They come with a tap, so run the water feed into the centre of the lap.

20 litres is going to be way to big for me , I have to be able to take it away in our small caravan. At home it would be fine as I have a couple already
 
Previous costing at 09/05/2019 was $83-63

Updates
speed controller $17-00
Smaller cake tin $22-45
Figure 8 power lead $8-95
Drip Taps $9-45 (10, any body want a couple )
1589177773_taps.jpg


total so far $142-48

This is not taking into account flat laps/disks, etc, just the actual slant cabber. Disks, laps and sandpaper etc will probably be more than double the total cost
 
Top